Many of ForeFlight's most valuable map features for daily planning and flying have been around for years, yet many pilots are still unaware of them. Often, they’re tucked away in settings, or their benefits aren’t immediately clear. Here are ten high-value features and settings that might have gone unnoticed but can significantly simplify your planning and flying.
Map Touch Action
This setting is located near the bottom of the Map Settings menu when any raster chart (sectional, IFR high/low, etc.) is enabled. The third option, Bring chart to front with legend, allows you to tap on any chart to reveal its full border and legend–just like a paper chart.
This is especially useful when important information, like a frequency, is cut off by the app’s chart stitching or isn’t visible on the sectional map. You can also quickly access the map legend and frequency list on the left side of the map when you zoom out. Additionally, this setting prevents ForeFlight from automatically switching to a TAC chart when entering into a metro area.
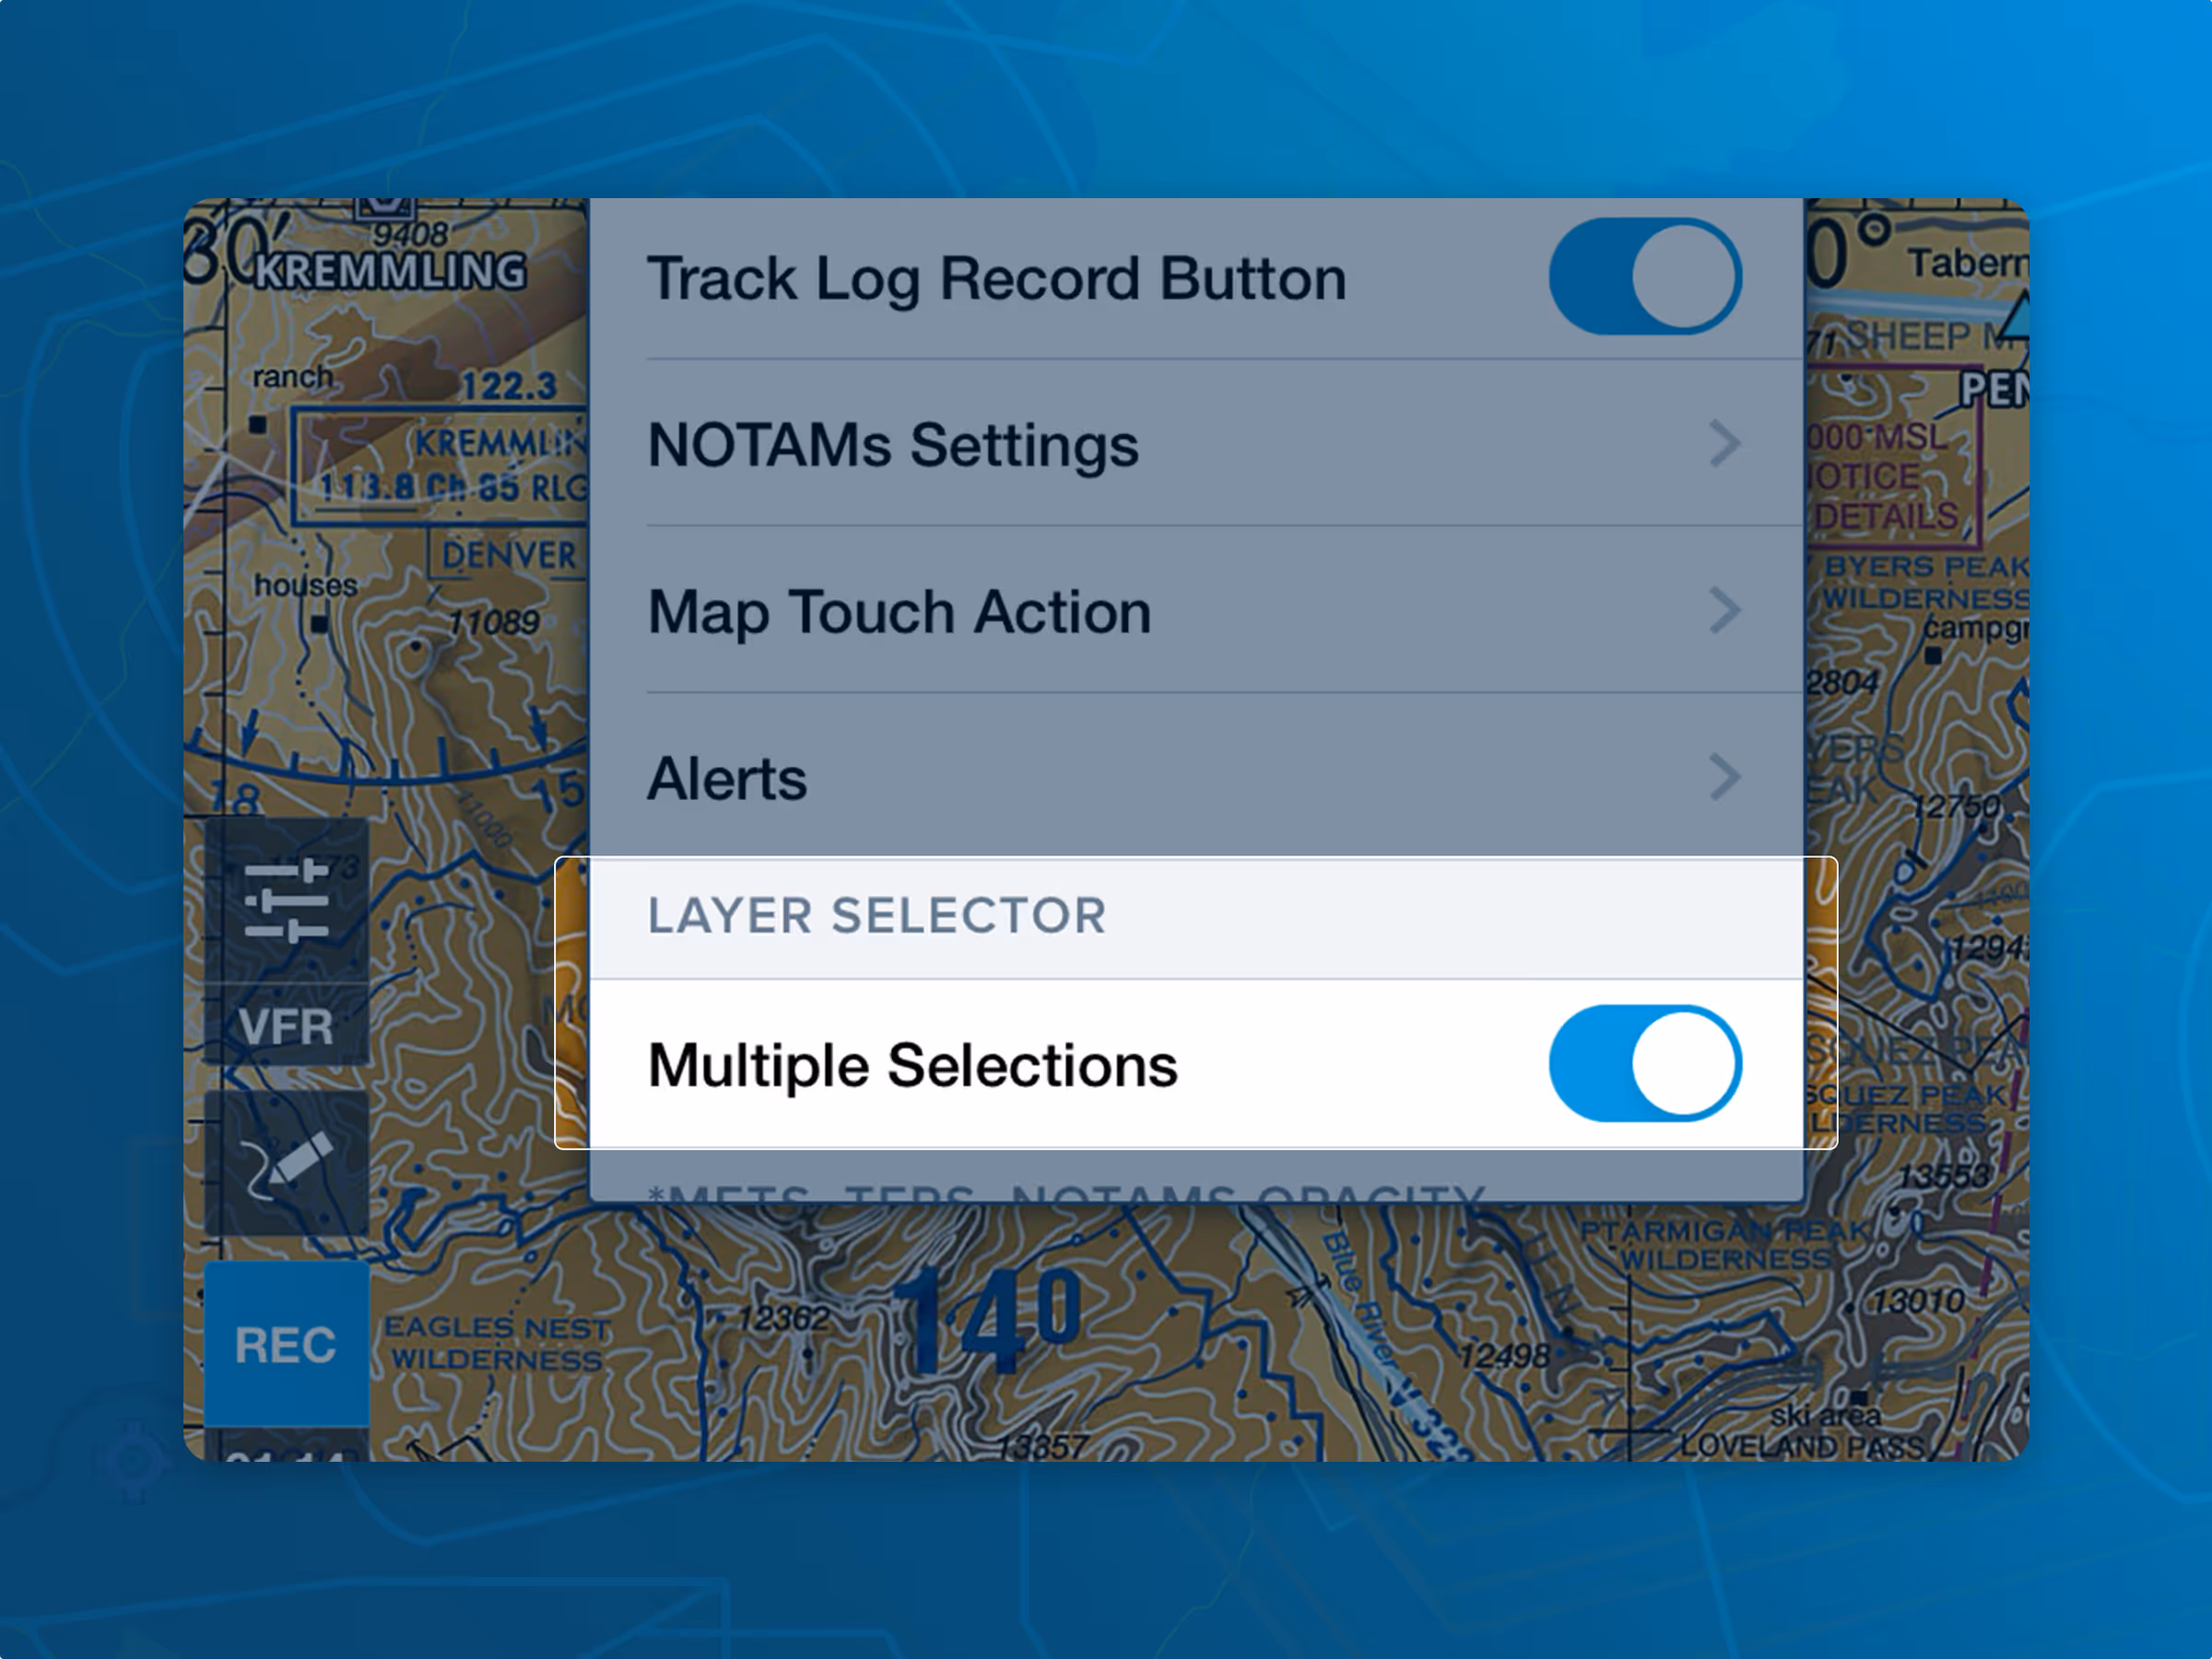
Multiple Layer Selections
In the Map Settings menu, the Multiple Selections toggle under Layer Selector allows you to keep the dropdown menu open while selecting layers. With this enabled, you can choose multiple layers without reopening the menu each time. When finished, simply tap anywhere on the map to close the dropdown.
Distance Ring Styles
ForeFlight’s Ownship Distance Rings default to an Automatic (Distance) mode, showing three concentric rings that adjust based on your zoom level. You can turn them on or off in the Map Settings menu by scrolling to Ownship Distance Rings and toggling the switch. When enabled, tap on any of the ring labels to open a menu with different style options, including fixed distance rings and automatic or fixed time-based rings. The time-based rings will show how far you’ll travel on your ForeFlight Map in a given amount of time based on your current ground speed.
These settings are also available in More > Settings > Ownship Distance Rings Style.

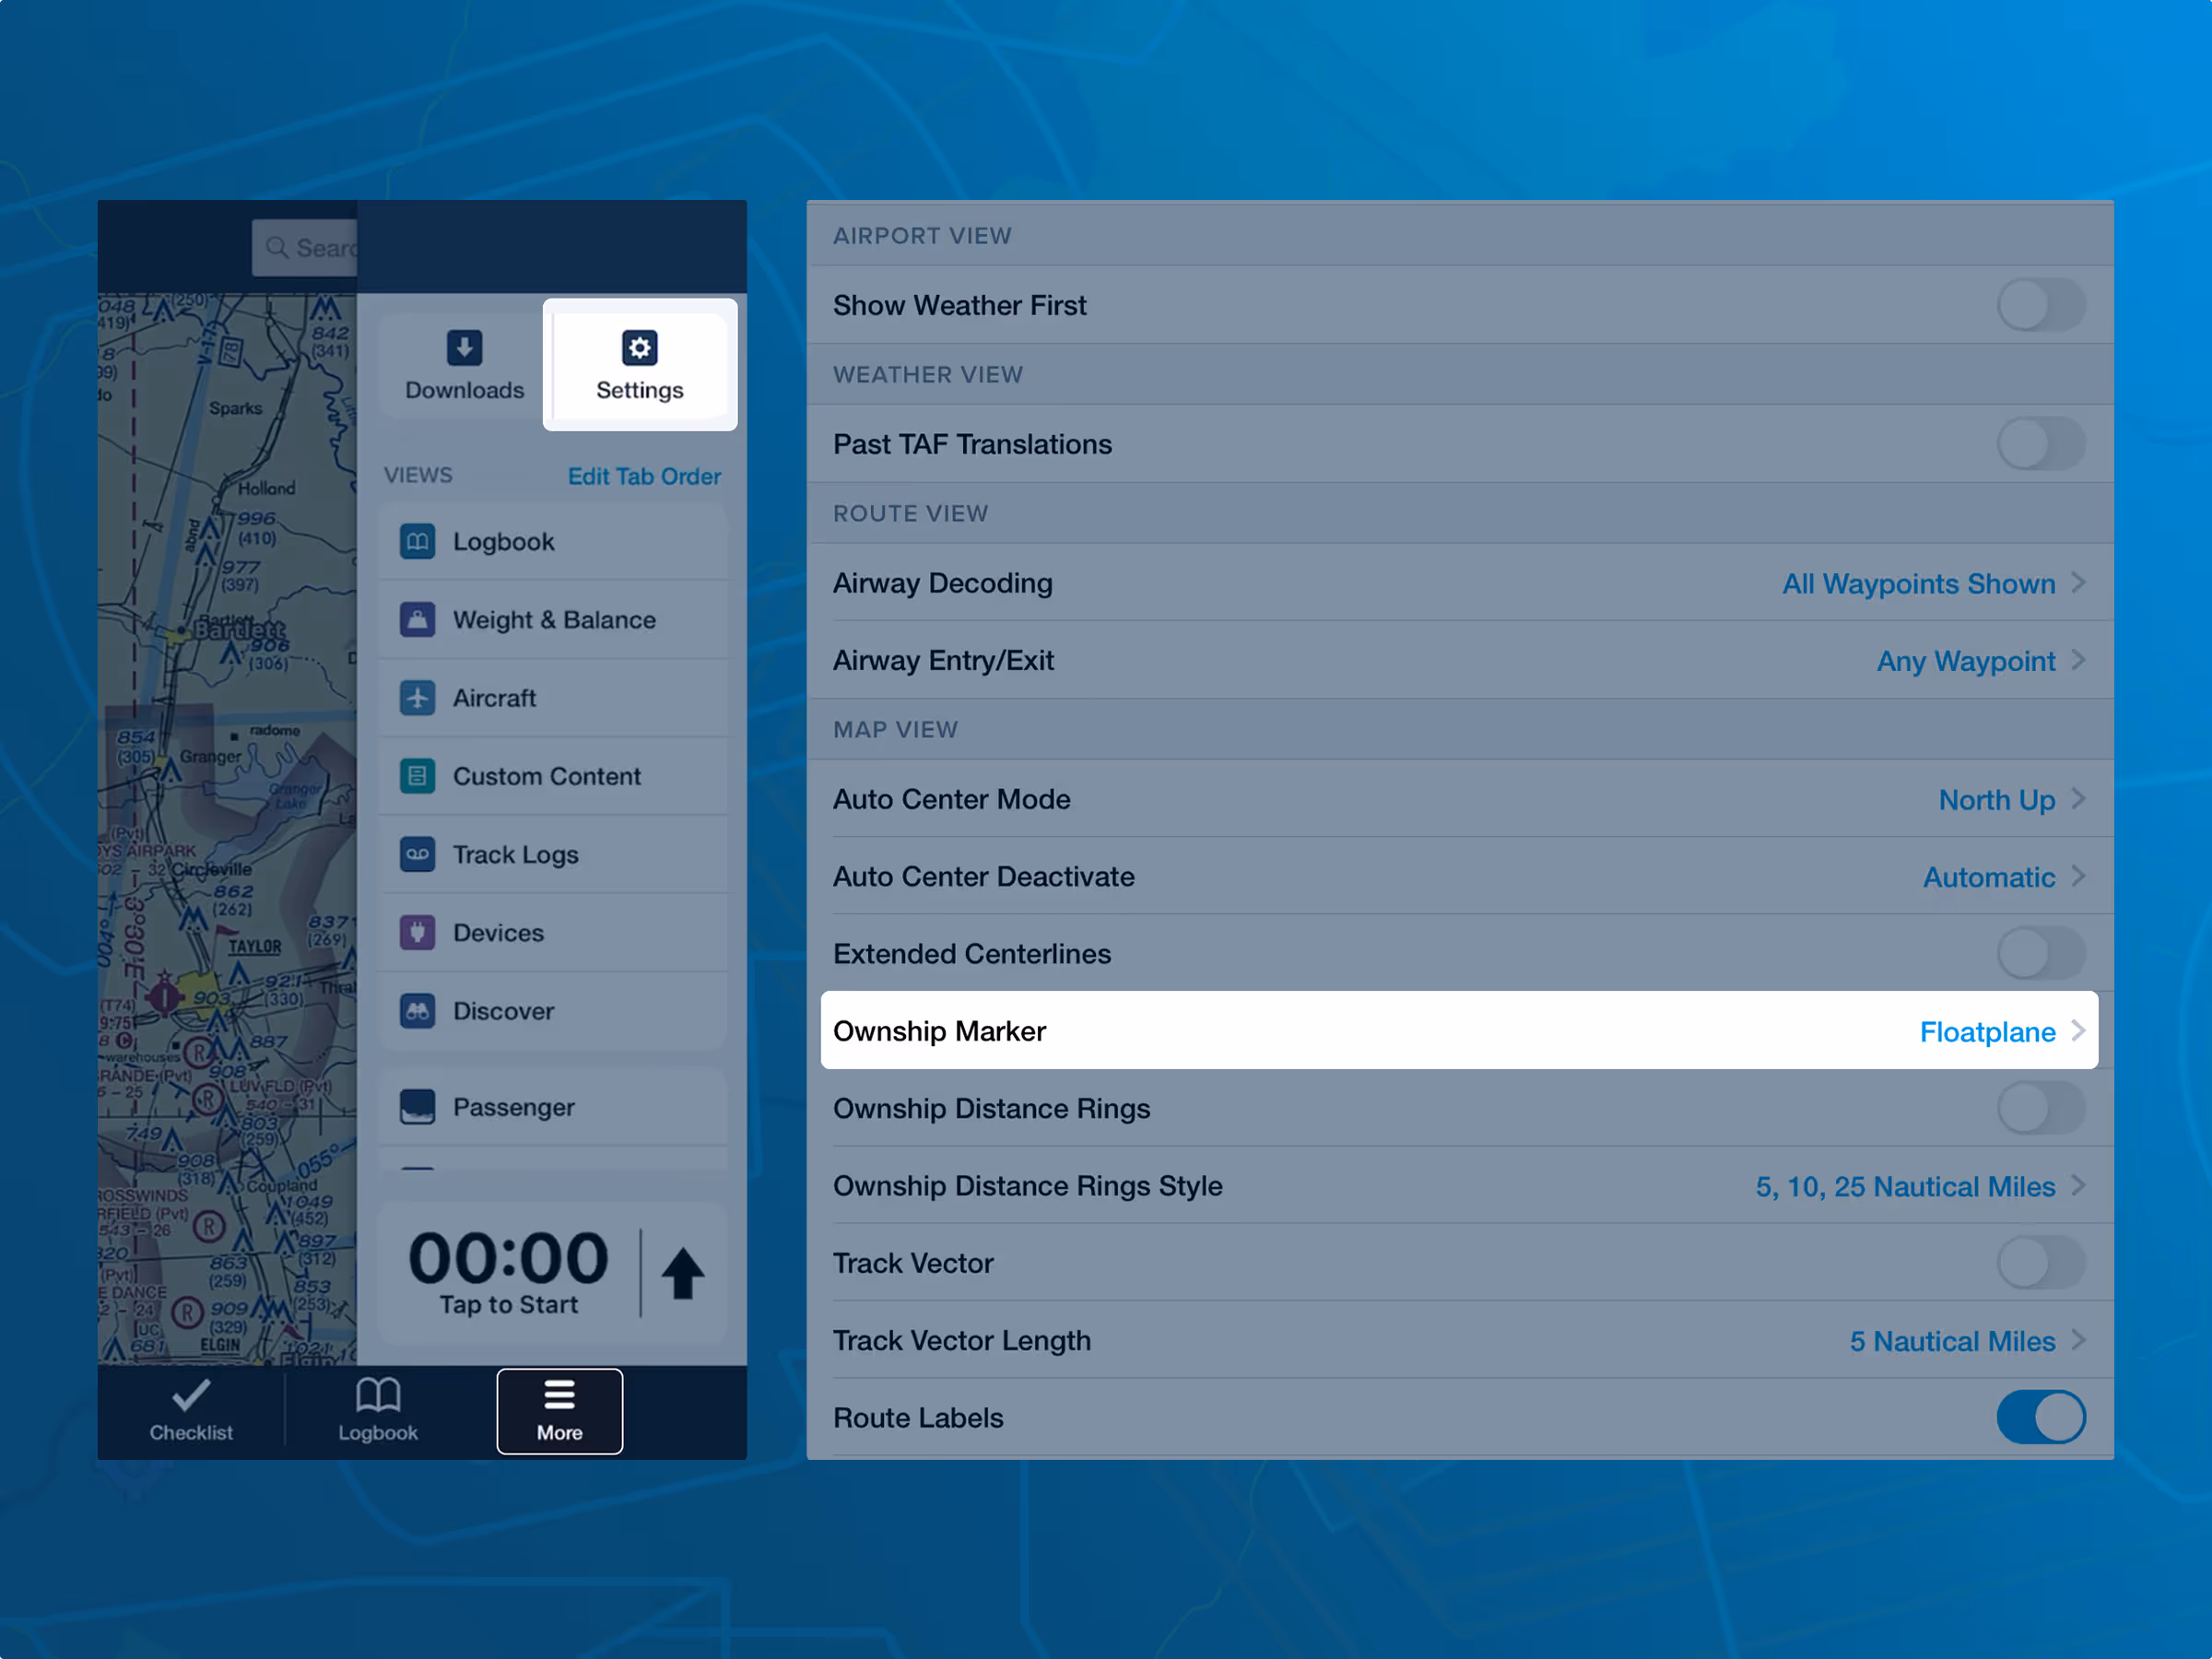
Ownship Marker
Why settle for a generic airplane icon to represent your location on the map when you can use an F-22 instead? ForeFlight offers a wide variety of location marker icons in different colors, including low-wings, high-wings, business jets, military aircraft, and helicopters. Many of these icons are not only more visually distinct but also larger and easier to spot on the map compared to the default airplane icon. You can change this setting by going to More > Settings > Ownship Marker.
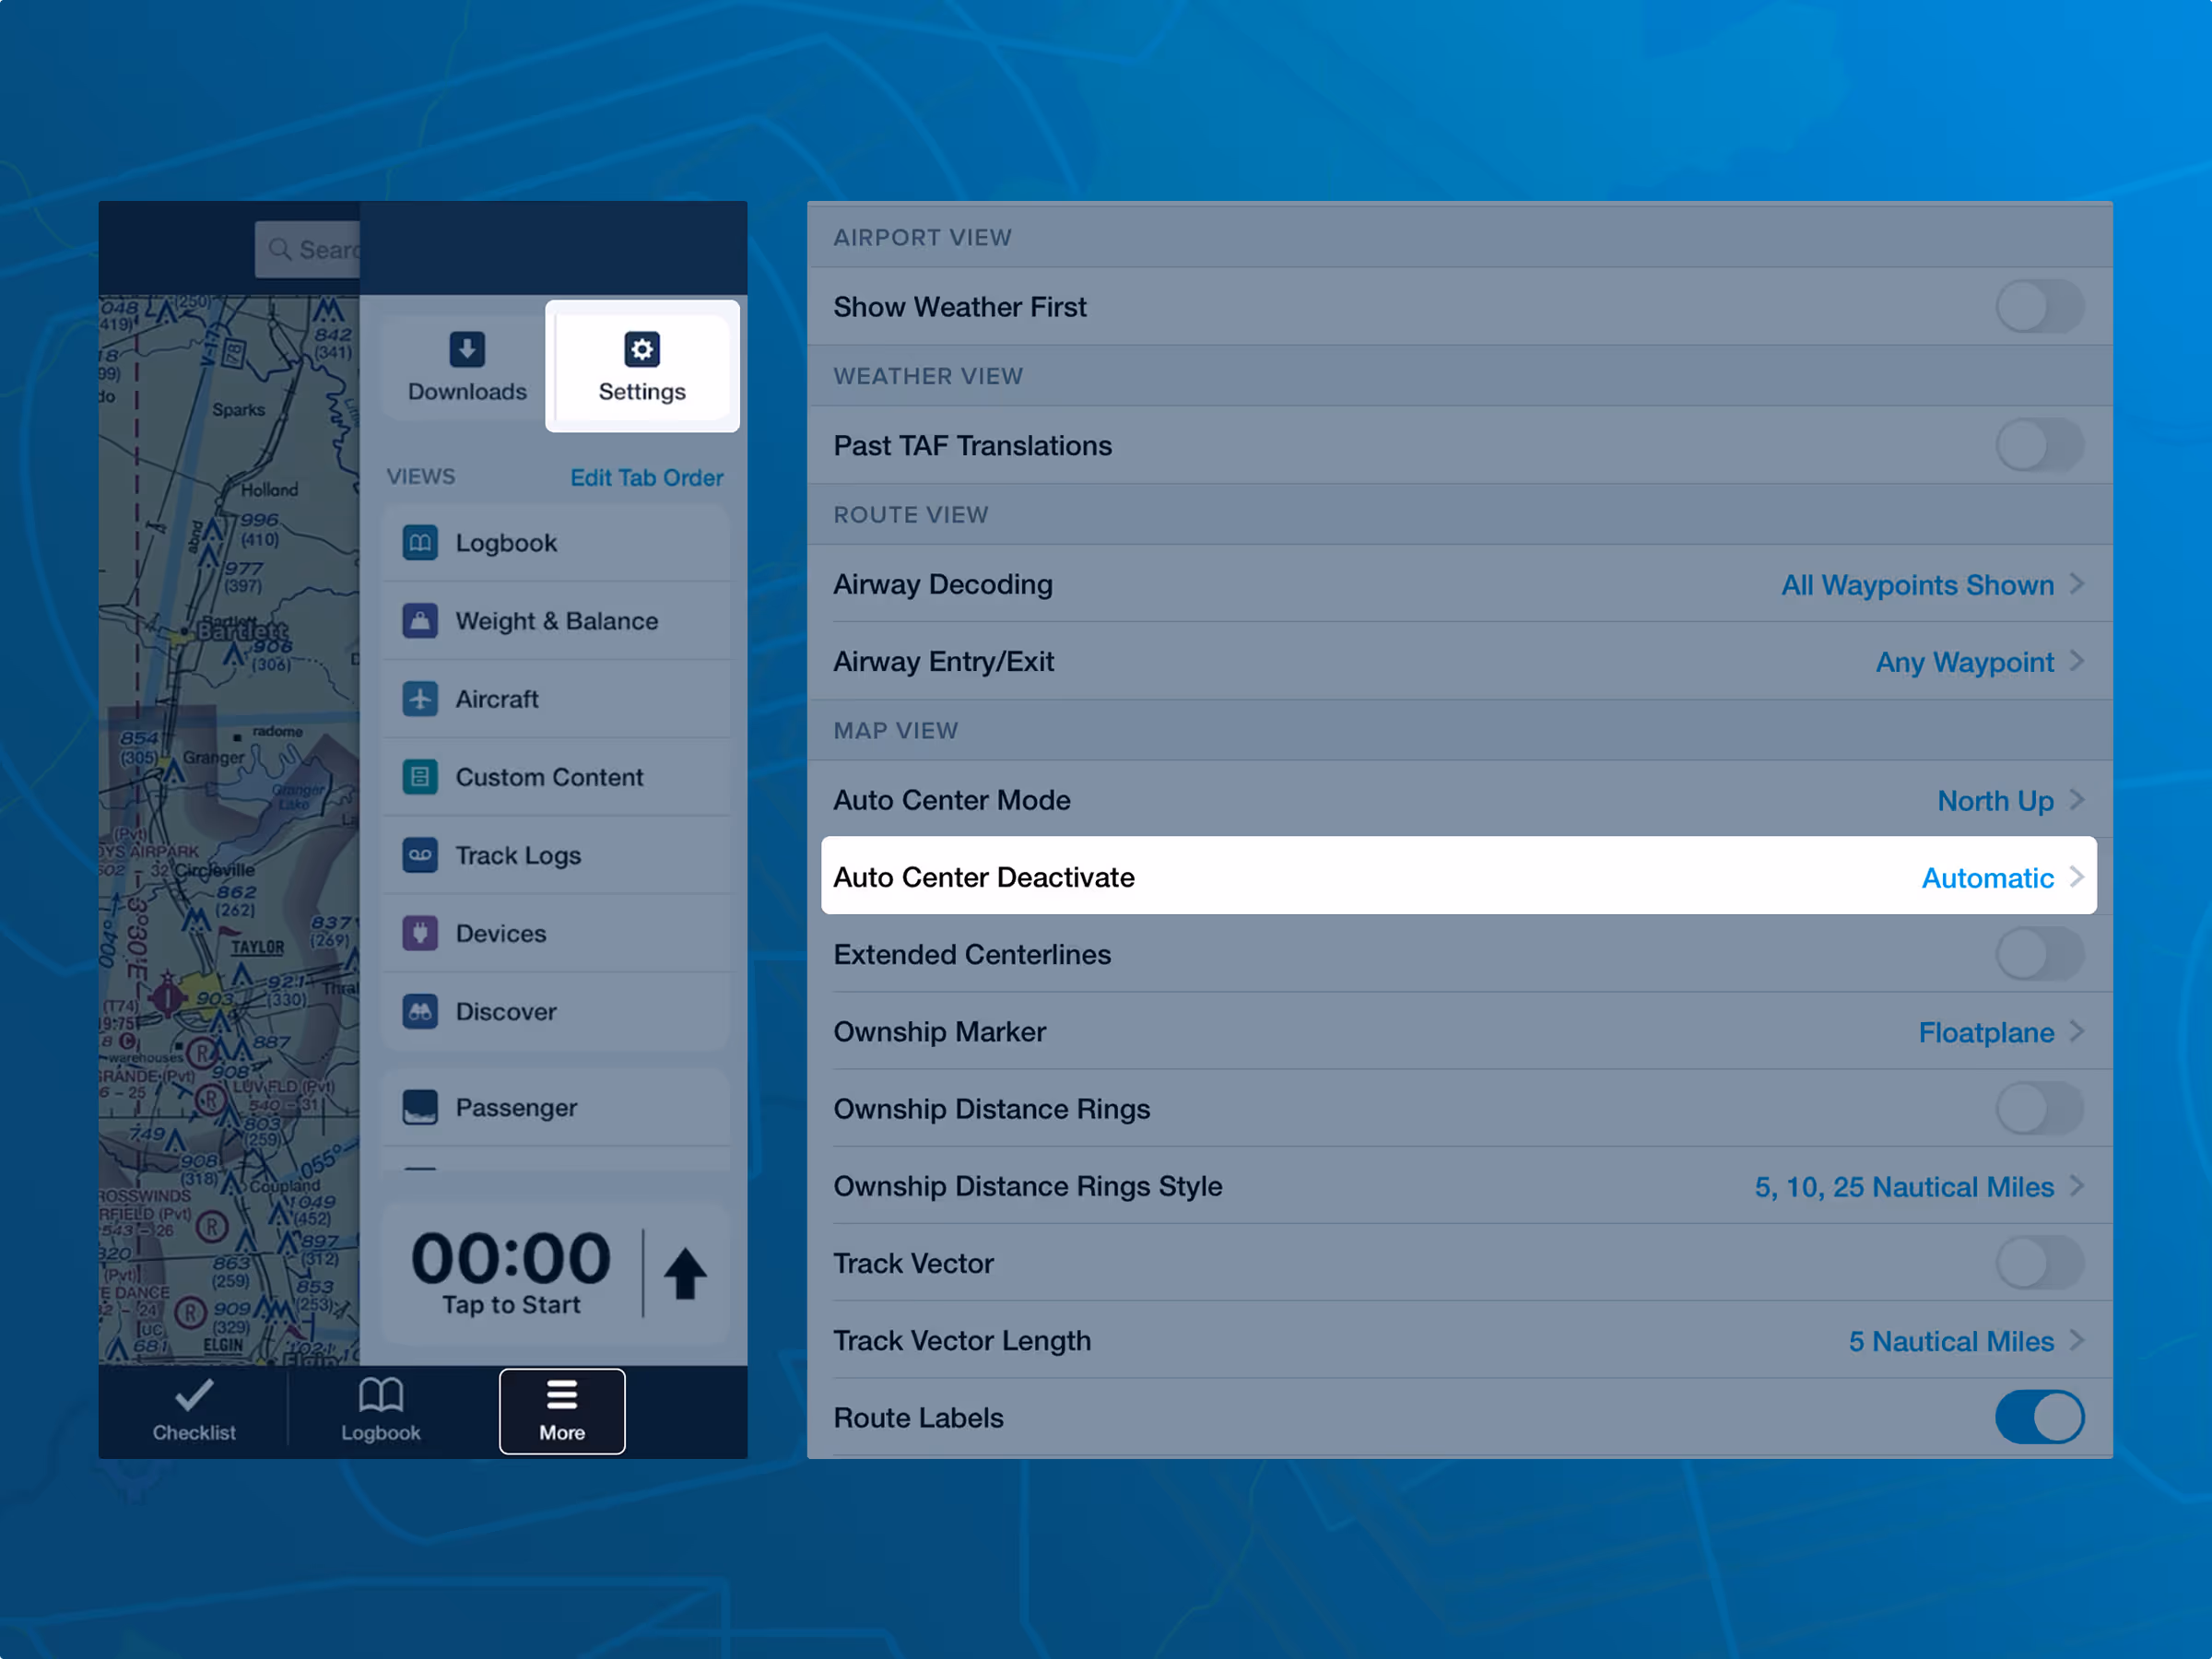
Auto Center Deactivate
Tapping the button in the top right corner of the Map keeps it centered on your current location. However, swiping on the map will, by default, deactivate Auto Center and move the map away from your aircraft icon, which can make it easy to lose track of your position.
For those who prefer to keep the map locked to their position, the Auto Center Deactivate setting can be changed to Manual. This ensures the map stays centered on your aircraft until you tap the Auto Center button again to unlock it. Once unlocked, you can move around the map freely.
You can find this setting in More > Settings > Auto Center Deactivate.
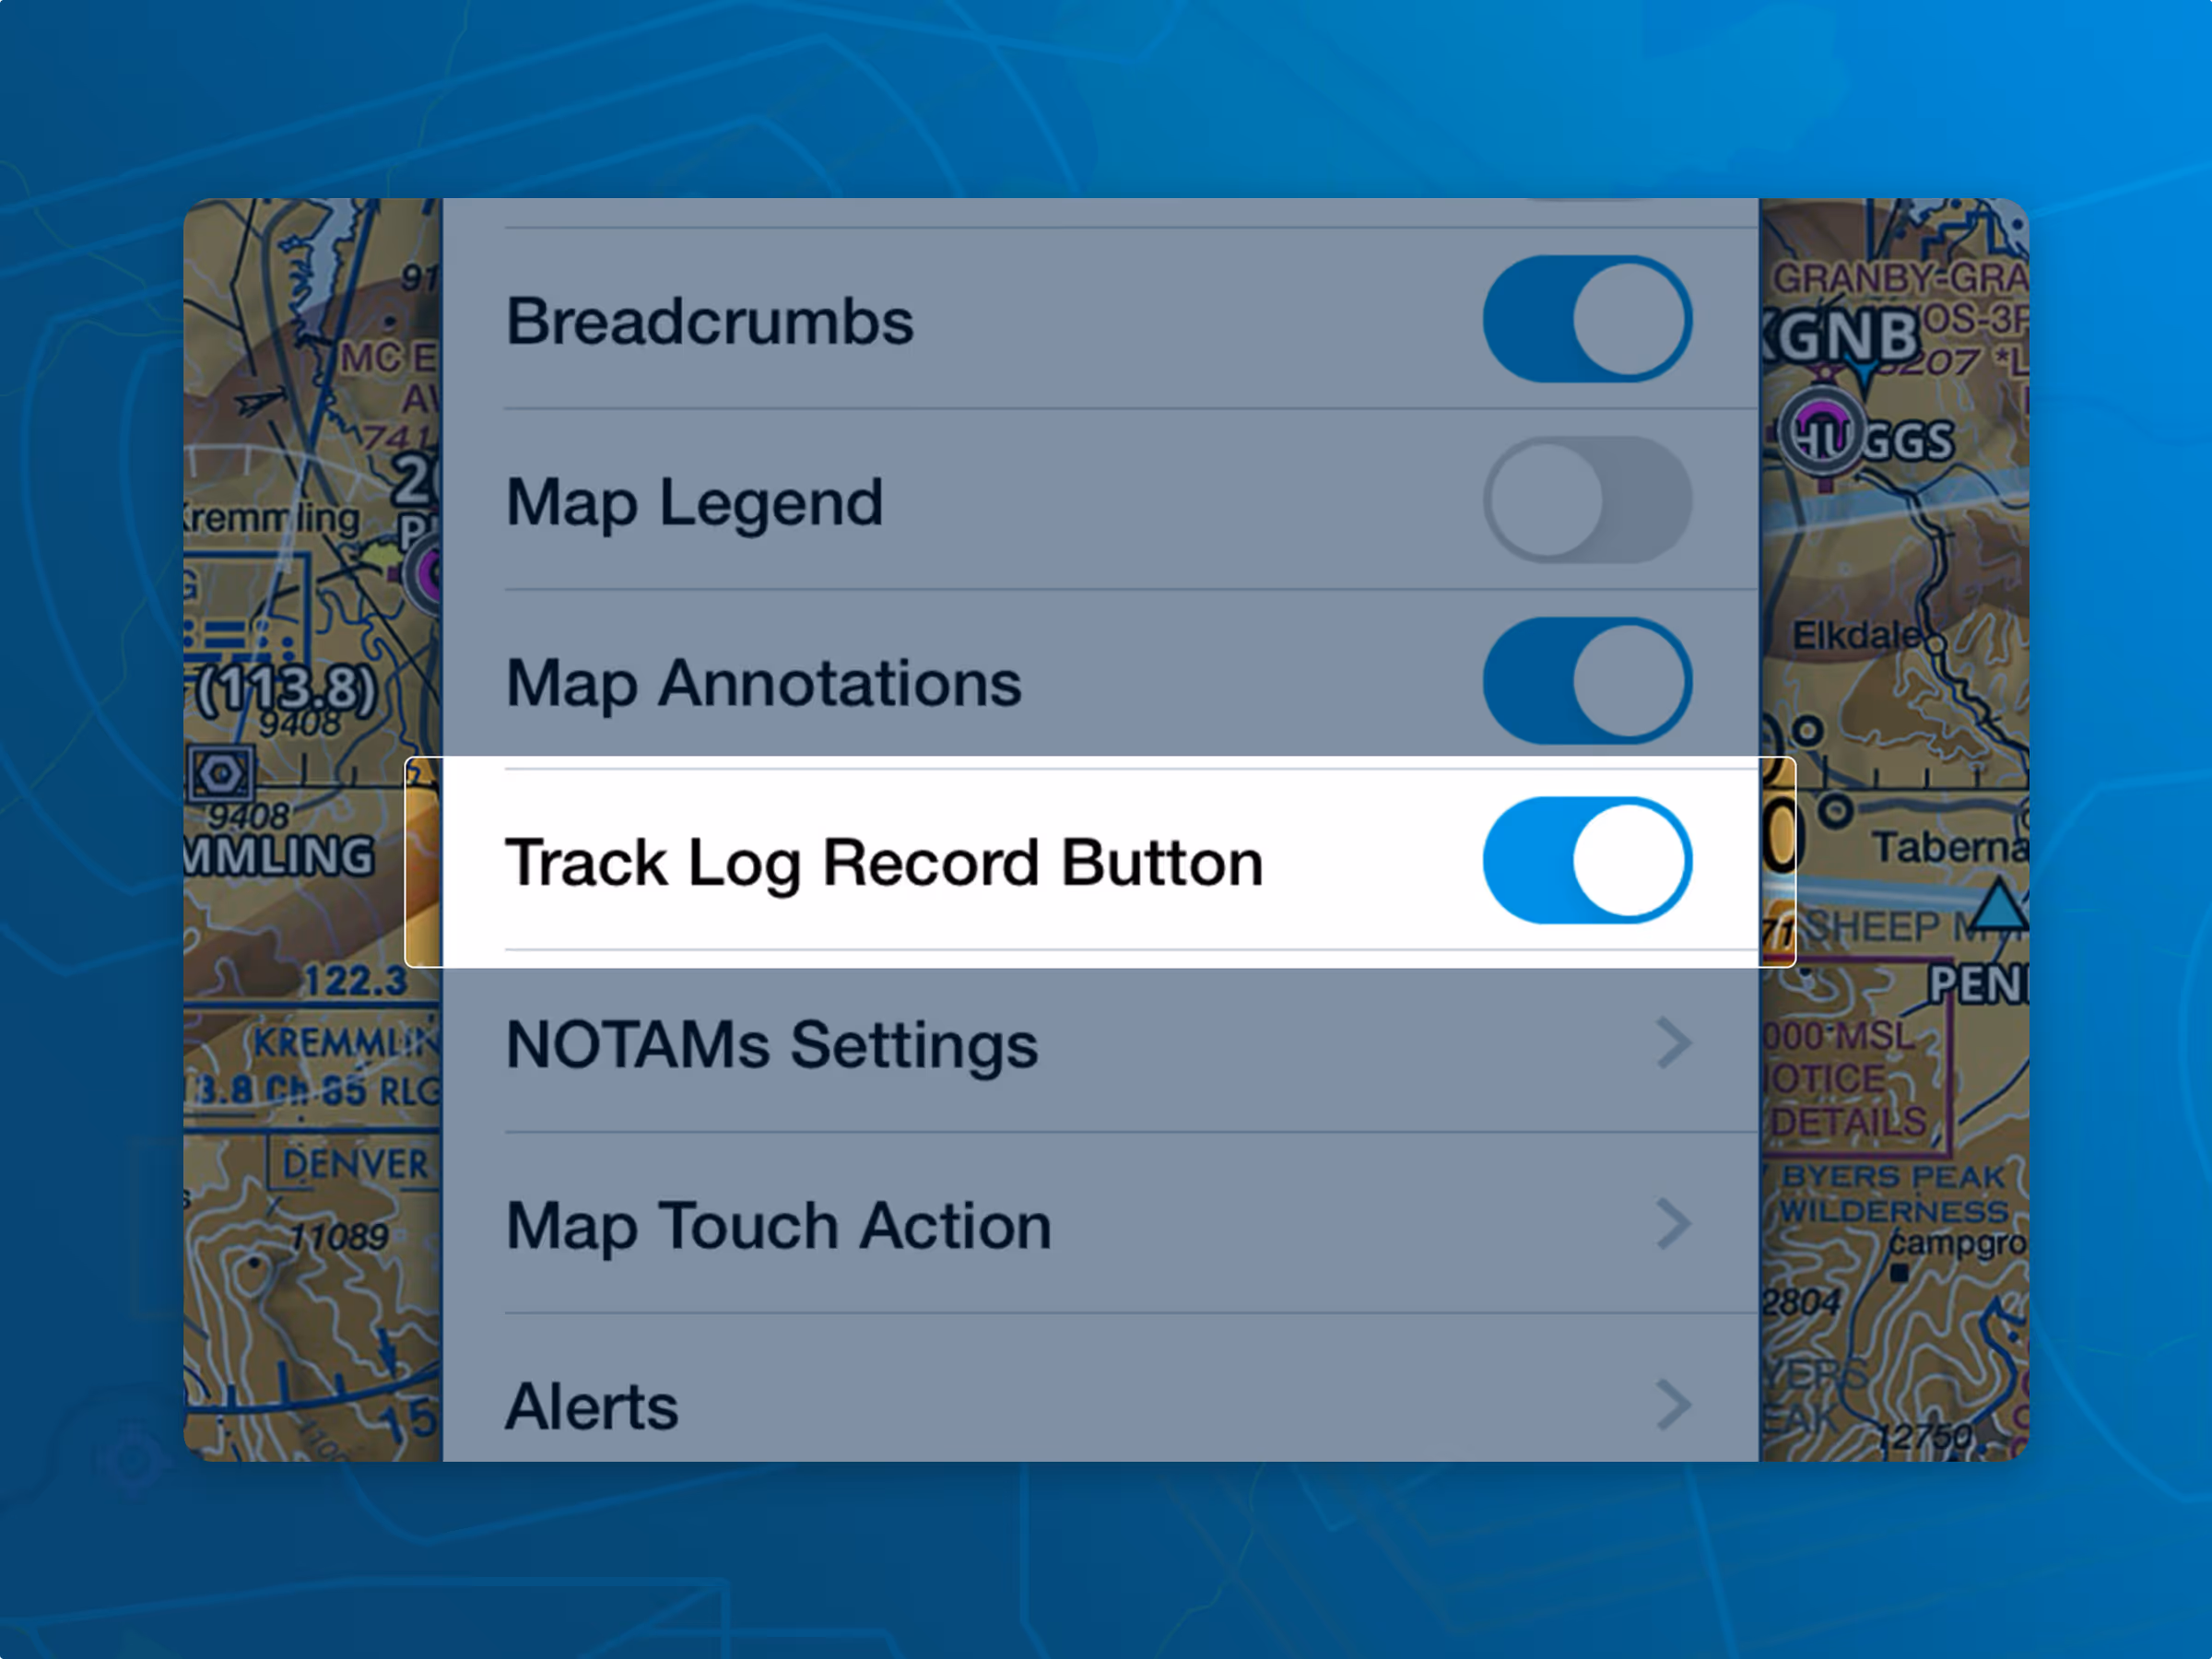
Track Log Record Button
ForeFlight’s Auto-Track Logging feature makes it easy to record your flights without manually starting and stopping the recording. While this captures the full flight, you may want to fine-tune your logs by trimming extra data before takeoff or after landing using the Track Log Edit feature.
If you prefer to manually start and stop recordings, you can tap the REC button on the left side of the ForeFlight Map view. The button turns blue when the recording is in progress. You can enable the manual start/stop option in Map Settings > Track Log Record Button.
We recommend including this as a step in your preflight and postflight checklists– an easy addition if you are using ForeFlight’s built-in Checklist feature.
Direct To
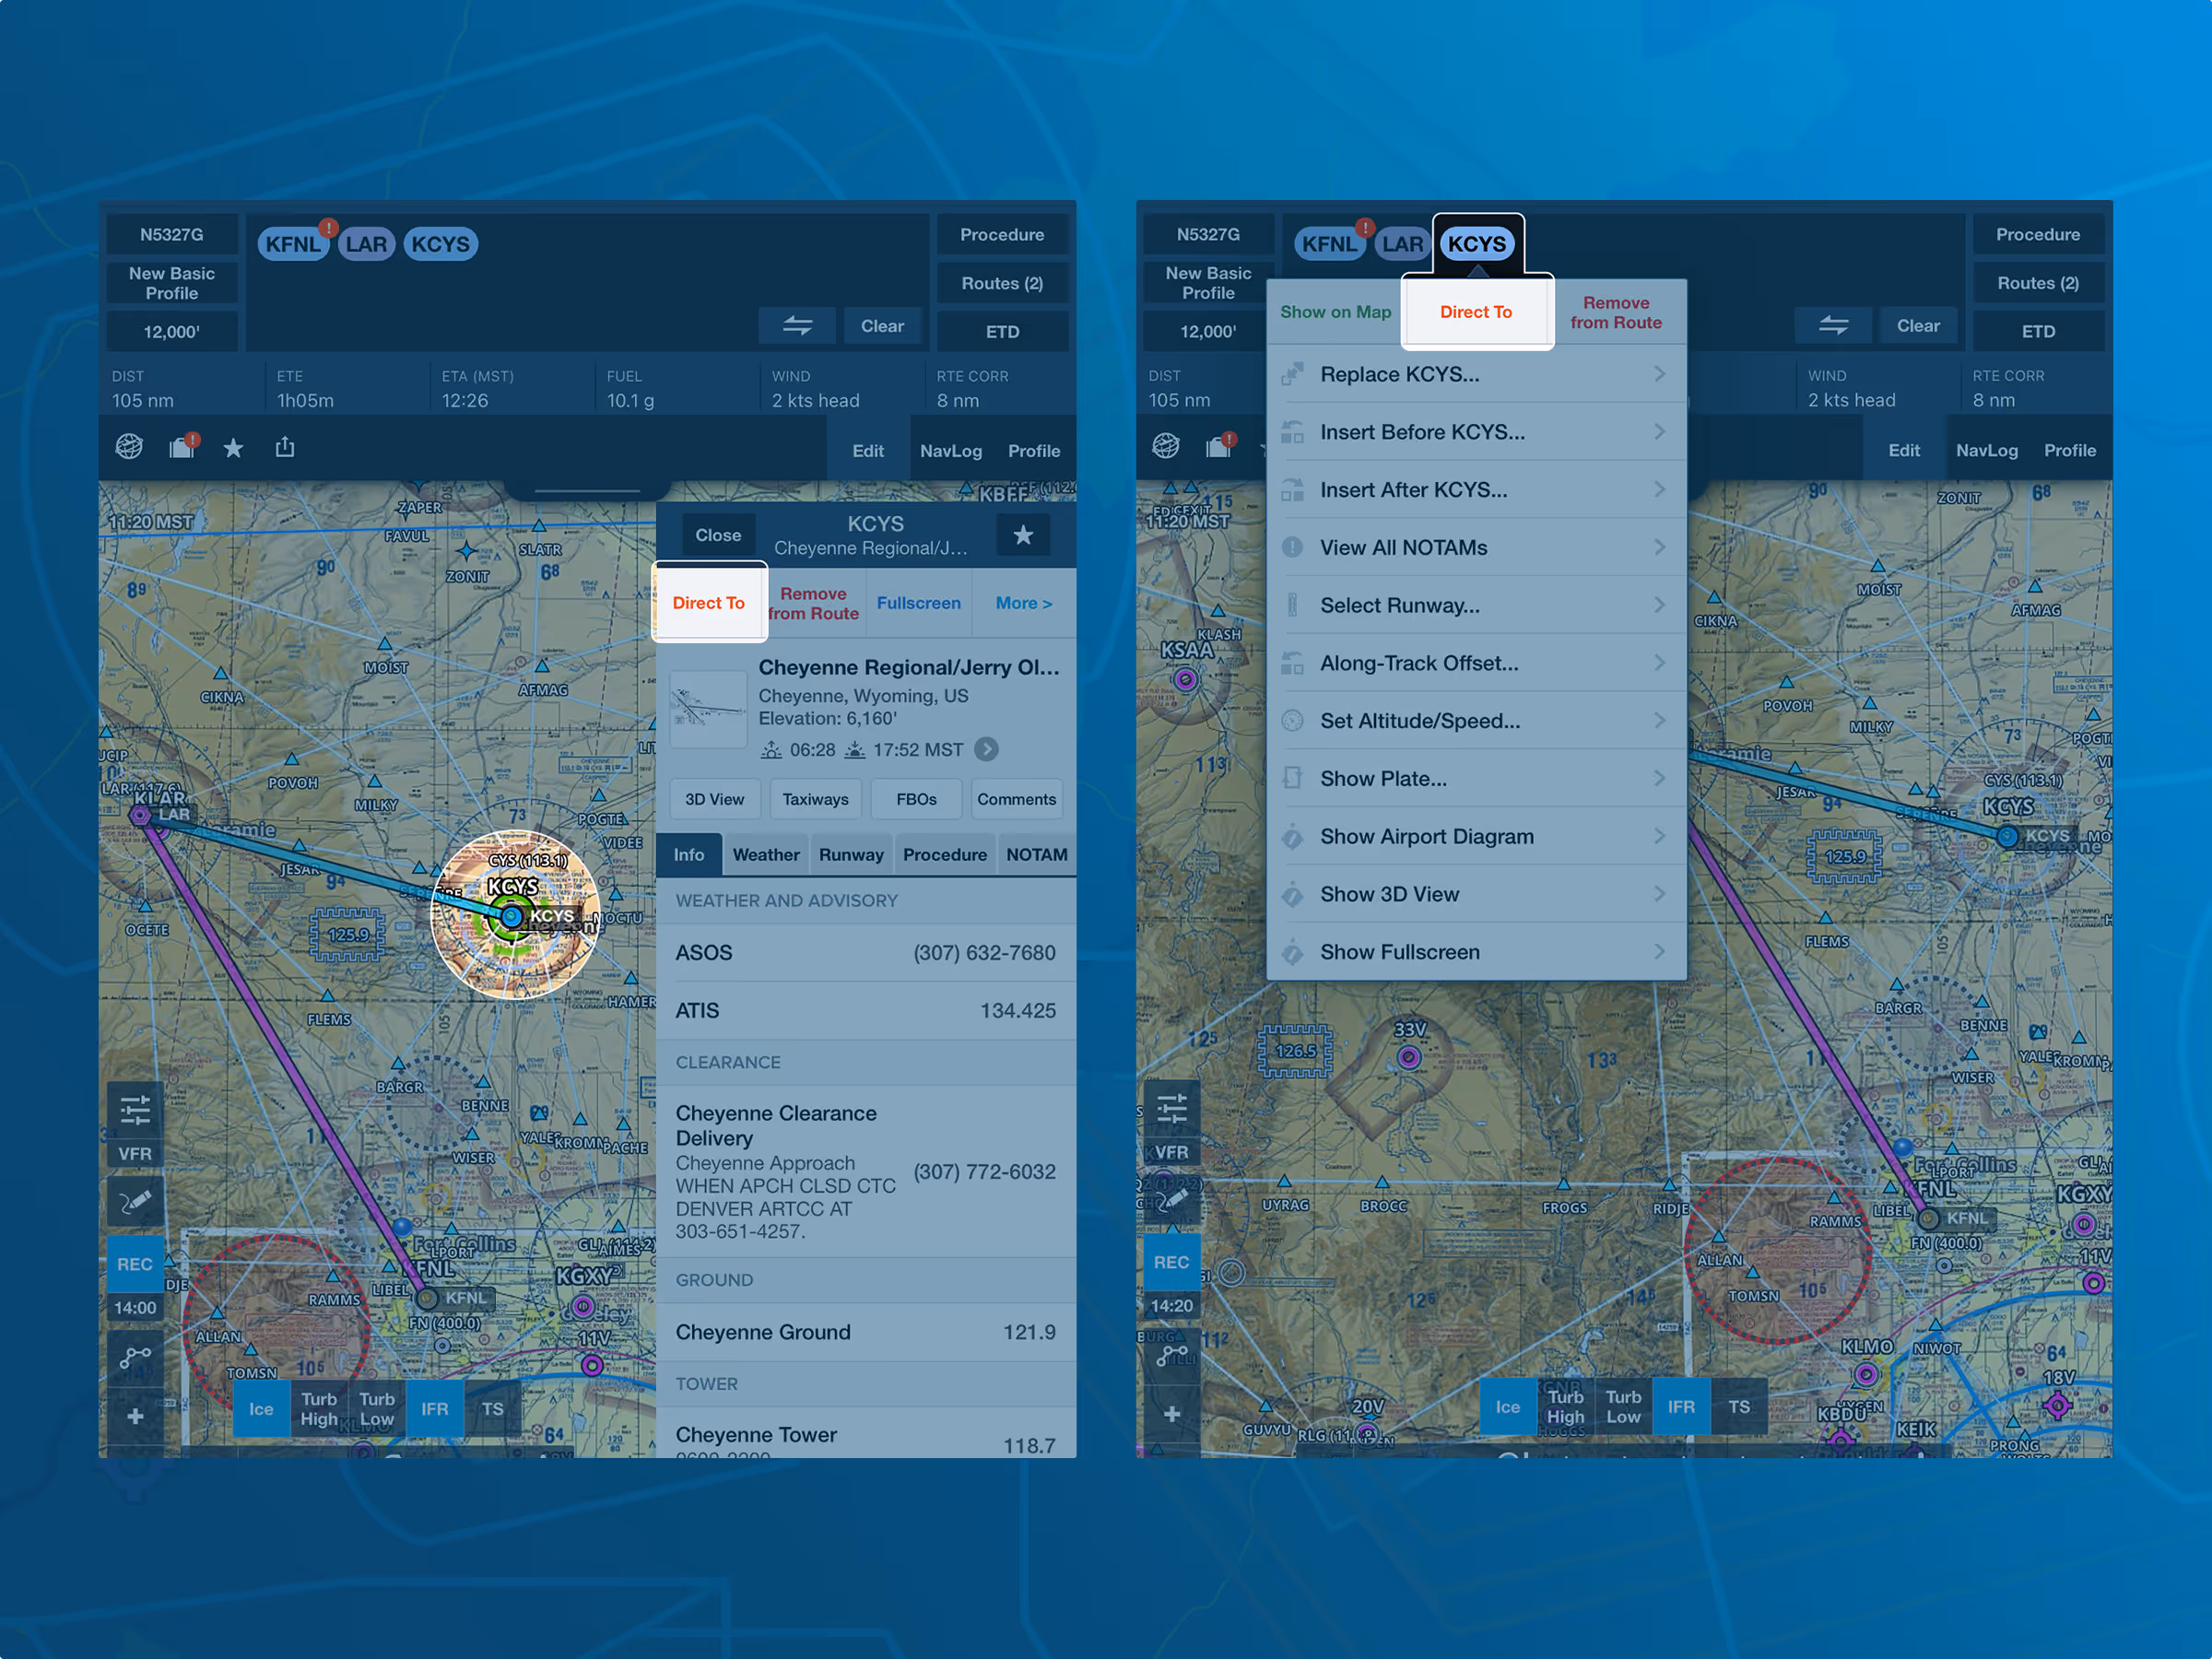
Whether flying VFR or IFR, you may choose–or be instructed– to proceed directly to an airport, navaid, or waypoint. To update your route accordingly, tap the next waypoint in your route on the Map and select Direct To in the top left corner of the Maps Sidebar. ForeFlight will remove the preceding route segments and replace them with a direct line from your current position.
Direct To only affects the route legs before the selected waypoint, leaving the rest of the route unchanged. You can also access this function by tapping any waypoint in the FPL Drawer or selecting the right-facing arrow next to the waypoint name in the FPLNavLog.
Fly Leg
If you cut a corner between route legs to save some time, the route colors may not update right away to reflect your current, past, and future legs. As a result, your ETE to Dest. time on the instrument panel may continue to adjust based on the original route.
To update it, tap the next leg in your route on the Map and select Fly Leg. ForeFlight will update the route colors to show your current active leg and adjust the ETE accordingly. You can also access this feature in the FPL Drawer by tapping the arrow buttons in the NavLog.

Airspace Auto Highlight
The Aeronautical layer on your ForeFlight Map allows you to use the Auto Highlight feature, which dims airspace not affecting your route, helping to declutter the map. To use Auto Highlight, make sure the Aeronautical layer is active. Once activated, a button on the left side of your map will display additional settings for this layer, including the option to highlight features like waypoints, airports, airways, and more.
At the bottom of this row is a button with three dots– tap this to access the Aeronautical Settings and enable the Auto Highlight feature.
Additionally, ForeFlight’s Profile View, available in the FPL tab at the top of the map, provides an easy way to check routing, altitude, airspace, terrain, and obstacles. To adjust your planned altitude, simply hold the altitude figure on the left side of the profile and scroll up or down.
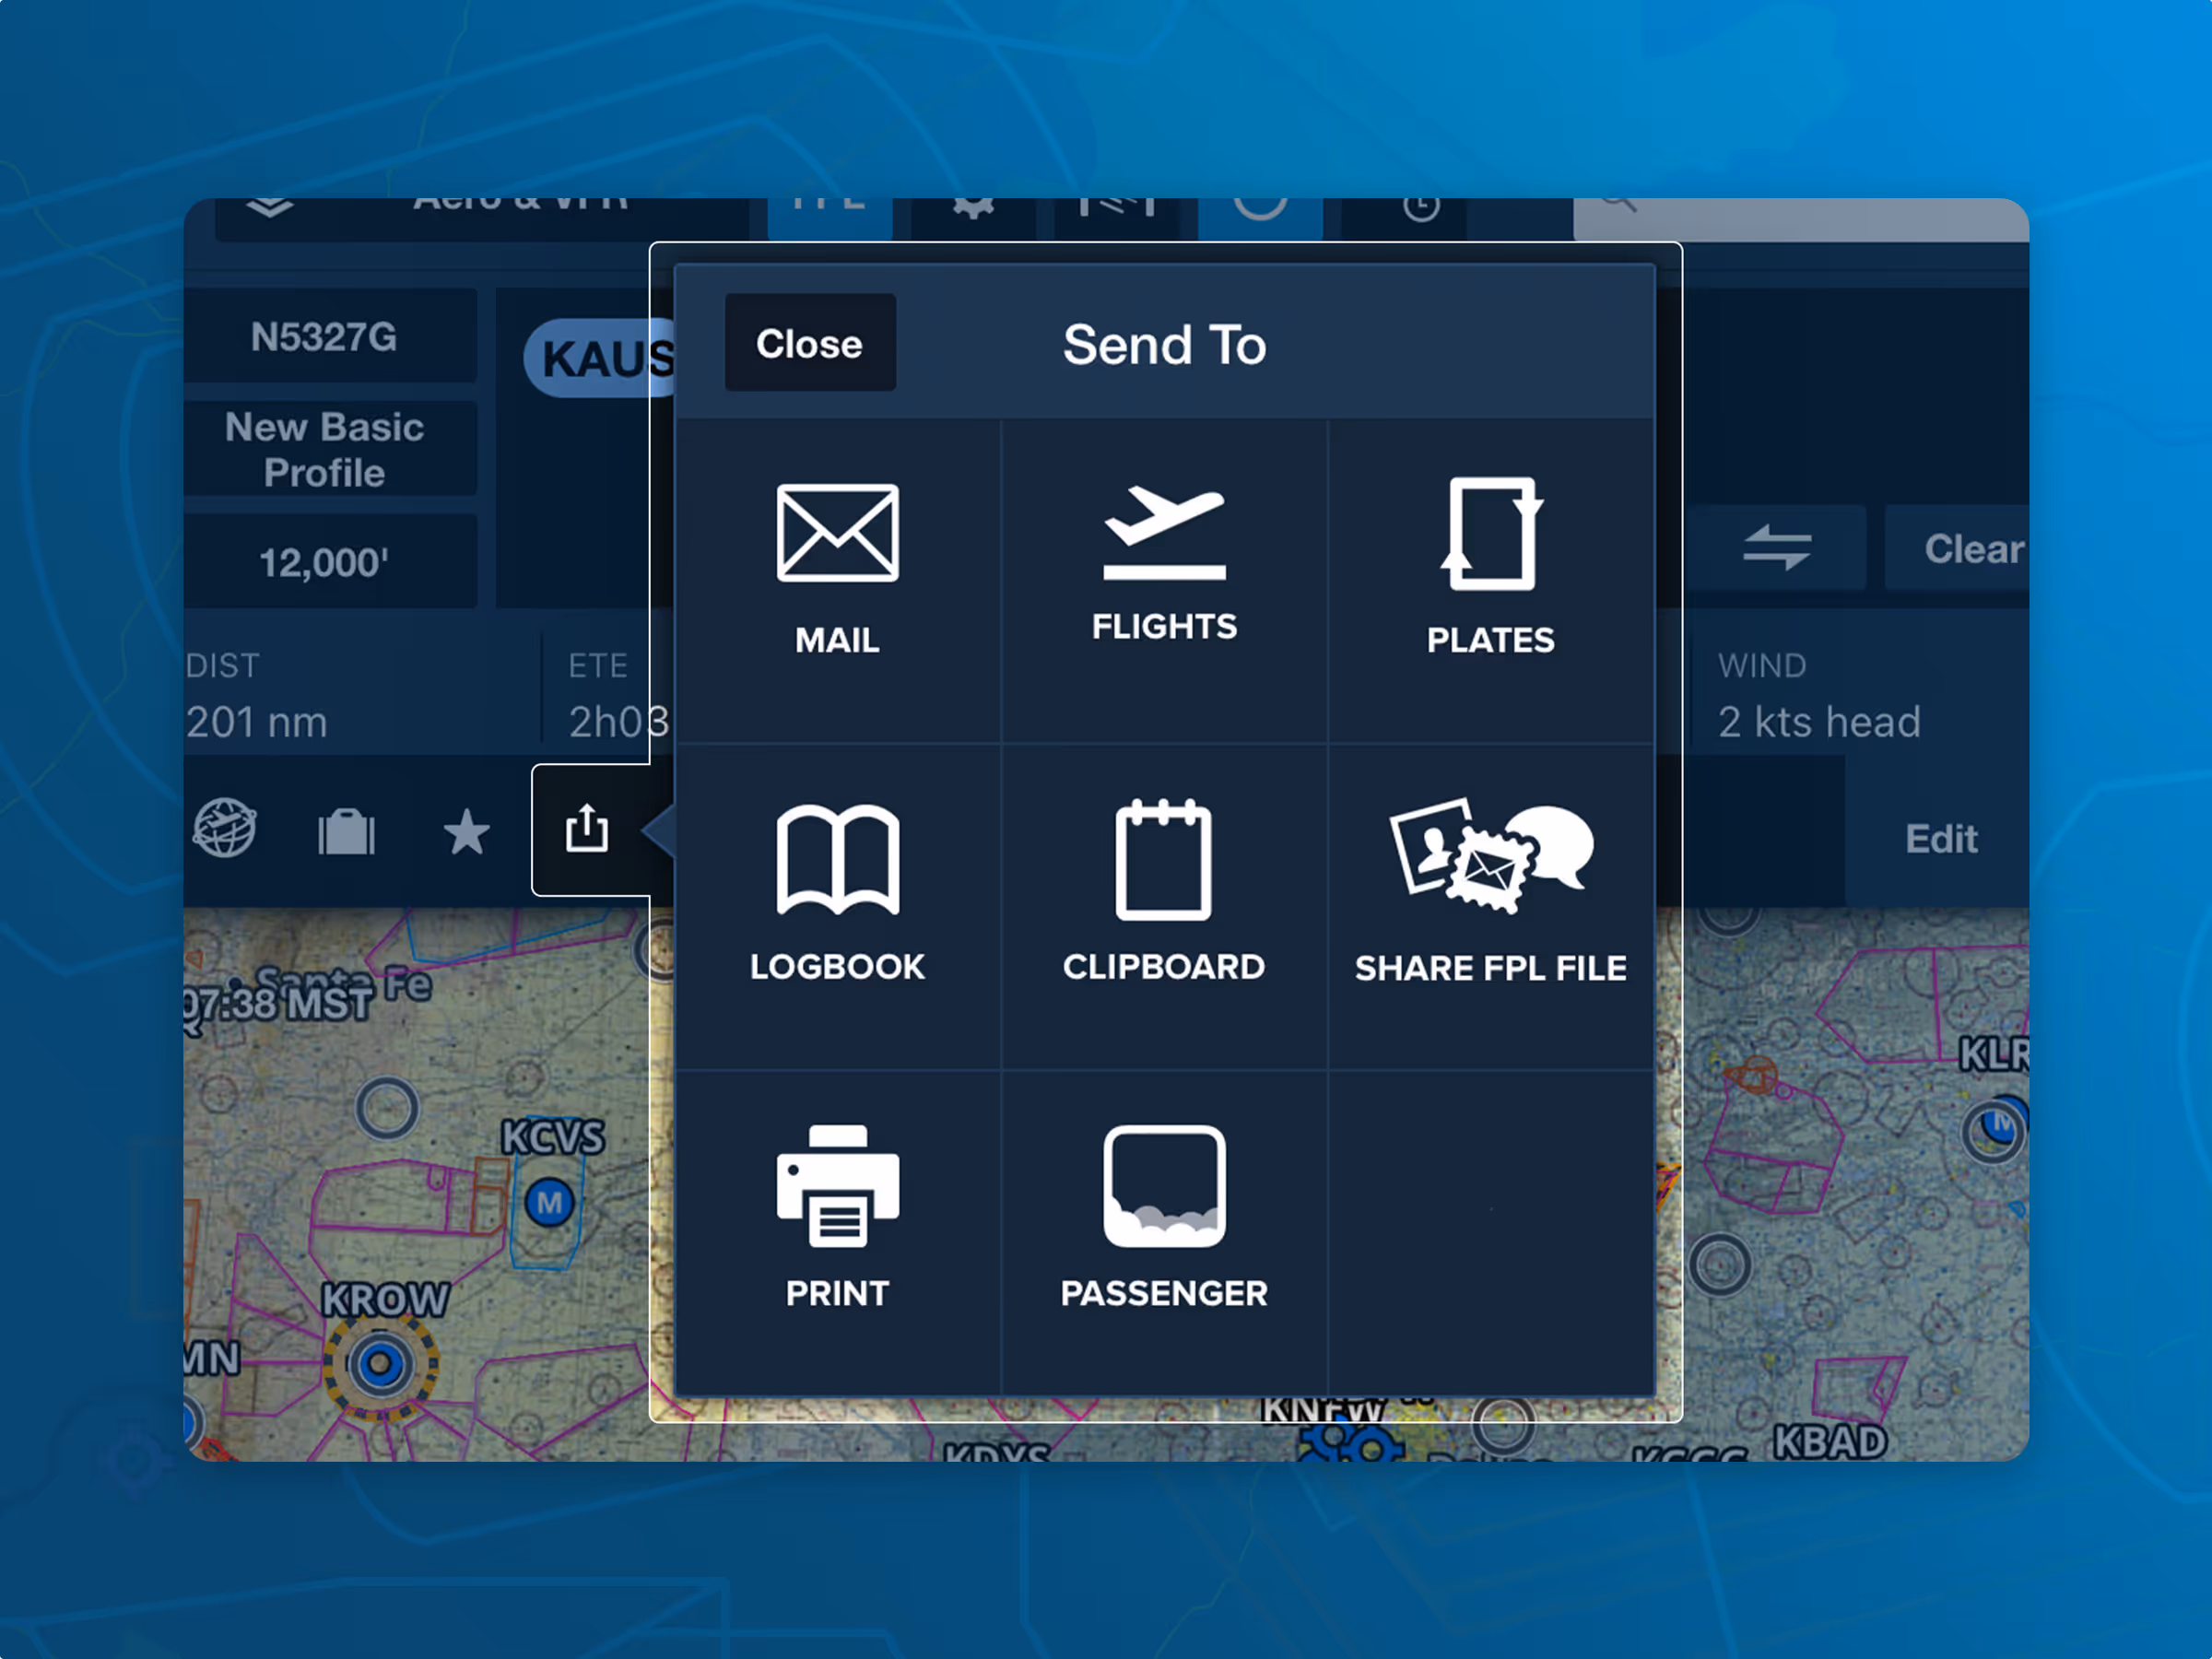
Send To
The Send To button is one of ForeFlight's most powerful features, turning the app from a collection of isolated tools into a seamless, unified experience. The most common use is sending planned routes between Maps and Flights, so you can file without recreating routes in the Flights view.
With the Flight Binders feature in Plates, you can send routes from either Maps or Flights to Plates, instantly selecting your departure and destination airports, as well as the associated plates for any procedures along your route–helping you stay organized.
Additionally, you can send routes to Logbook to auto-fill time and distance fields, streamlining the logging process. You can also share planned routes with others via the Flights tab by entering their email; once they accept, the flight will appear on their account.
If you’d like to share the Navlog, Briefing, or ICAO flight plan form as a PDF, the Share PDF option makes it easy. For those who prefer a paper checklist, you can print procedure plates or airport diagrams directly from Plates using the Send To button.Be sure to explore the options in the Send To menu on each page—it’s a handy tool you won’t want to miss!